Pages

Showing posts with label painting. Show all posts

Tuesday, September 19, 2017

It's been 84 years....


Said in my best Rose Dewitt from Titanic voice....

That's how long it feels that it's going to take me to finish this french provincial dresser!

It's coming along though. Hurricane Harvey had me putting it on the back burner and shortly after H and Ava got back, Hurricane Irma was on the way, so again it was put on the back burner. The kids were off school for a week and a half and they just went back yesterday. This weekend I started the project back up again. I'd say it's about 75% done. I'm hoping sometime by next week it will be complete. I'm really getting so sick of Layla and Mariam pulling their clothes out of their closet shelves every day! It's a huge mess. Sometimes I just put them back for them so it can be done a little neater or else they'll just shove all the clothes back in there. 

In it's ugly infancy.

Ready to be painted.

It's coming along.

Currently I am doing the drawers and then I have to go back and touch up any places the gold paint spilled over on the white. Also have to spray paint the hardware gold. The girls wanted to help a bit. I didn't let them sand really. They just gently went over a few drawers with a sanding sponge that's already worn down. Not sure how old the original paint is and what it has in it.


When all is said and done, I'll be doing a full post with the complete and detailed process and letting you know the mistakes I made and any new tricks I picked up,

Oh! I forgot to mention before, that the dresser came with a mirror! I'm not attaching it to the dresser though. Rather I decided to hang it in the breakfast nook. I really agonized painting over the original gold detailing, but I was not trying to spend another 84 years trying to redo it all! It turned out great all white.


Have a nice Tuesday!

Monday, April 7, 2014

Nursery Update {Royal Design Studio Review}

 
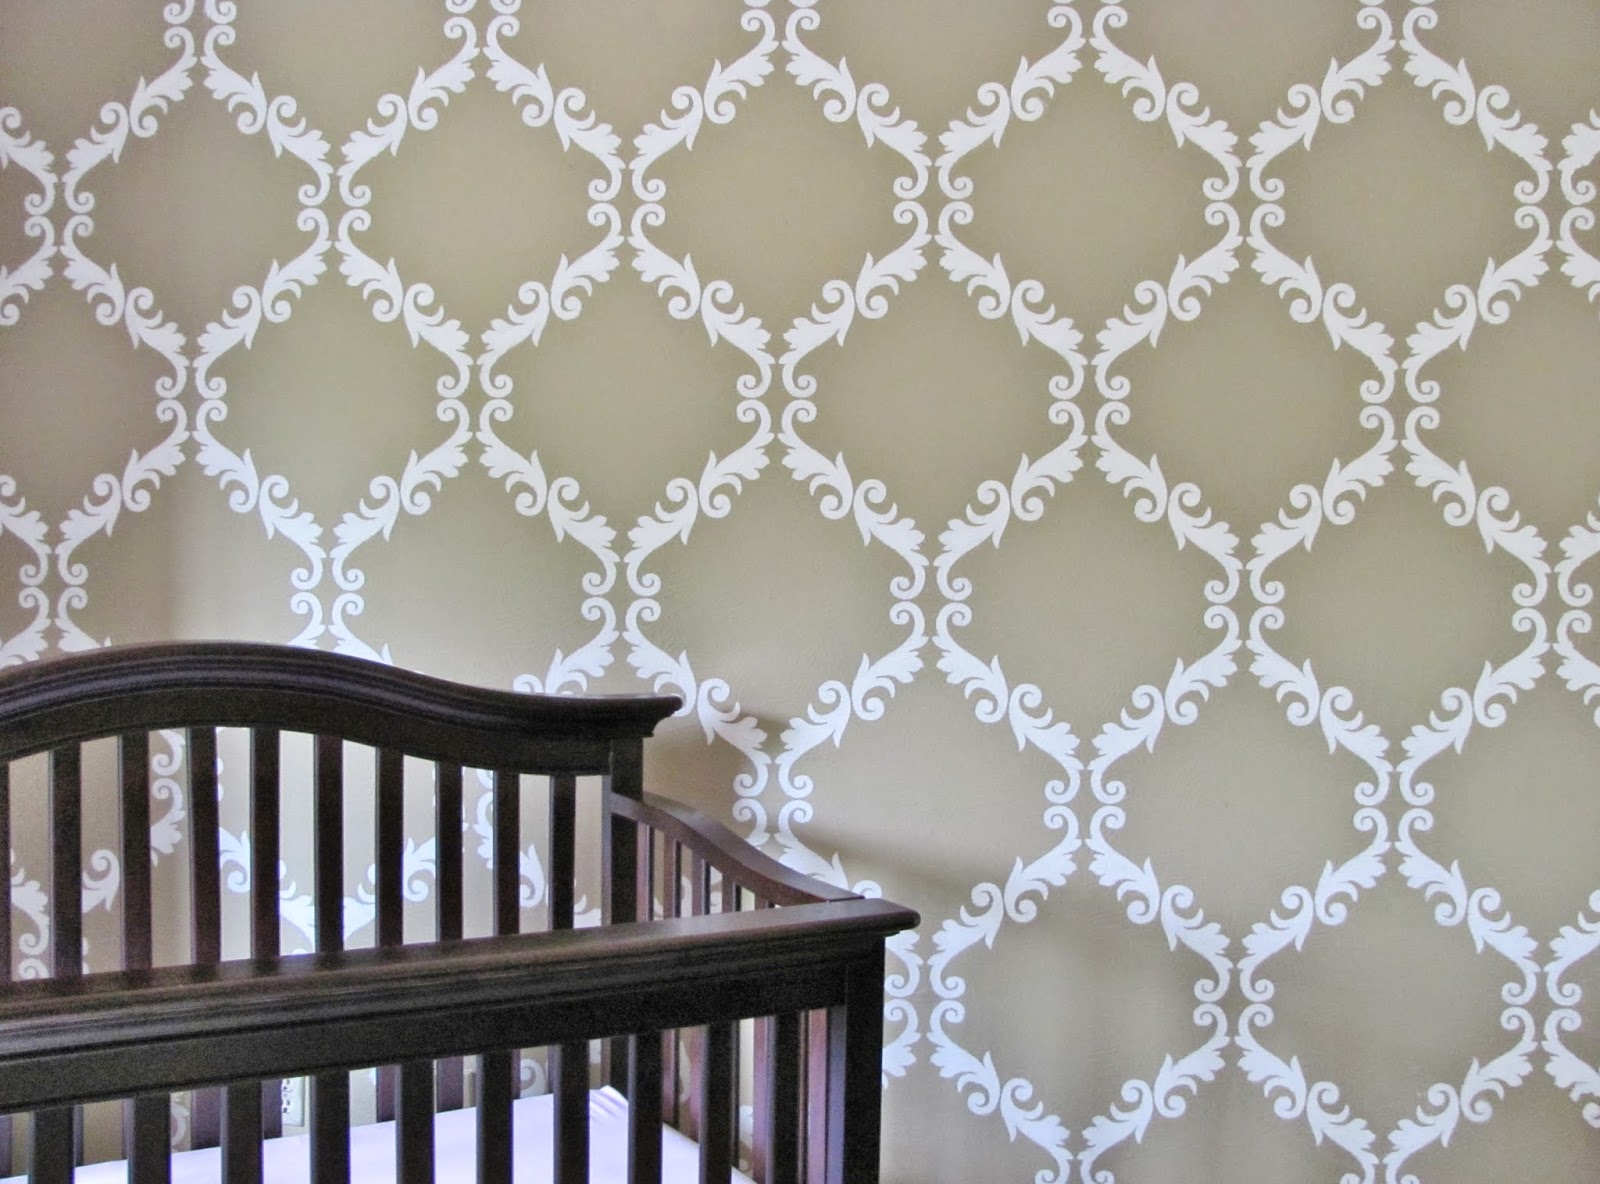
A few months ago I decided that I wanted to update the nursery a little and add in some more décor. I came across the Royal Design Studio's website and fell in love with their stencils. I knew right then and there I had to have a stenciled wall of my own. They were kind enough to send me a stencil for review and even in the early stages when only a portion was done, I had already fallen in love with the wall.


Sure enough when all was said and done, the wall really propelled the room into becoming the nursery of my dreams. The stencil I chose was the acanthus trellis wall stencil in the large size. It comes with easy instructions and if you are working with an all over design like mine, it has indications on the stencil itself on where to match up the next one once you start. The walls in my house are slightly textured, so if you are working with a textured wall it's best to us a flat matte paint instead of semi-gloss. I bought America's best paint from Home Depot and it was only $11.99. I bought the gallon but I really only needed about a quart. I also bought a pair of stenciled brushes and a short foam nap roller. I had everything set up and ready to go but it was just going to be impossible to keep the little ones out of the room and too late to do it at night by the time my husband got home. Instead I had my older brother come in and do it for me and he did an amazing job! I watched him do some of it and that first stencil is a little nerve wrecking, but once you get that one done the rest are pretty easy.
 
 
I am absolutely in love with the way it came out. It's stunning and I can't stop looking at it and now I'm like "let's stencil everything!" Ha. Yeah right. As much as I'd like to, my husband would not be too happy. I definitely see myself stenciling a piece of furniture in the near future and if we move I'll be using this same design in one of the girl's rooms. Stay tuned later this week or early next week when I do the final reveal of the room in it's entirety
 
Have a great Monday!